Use the Installation Description screens to configure the software. You need to set up software features and enable the software to communicate with the PC adapter and host computer. You can save the installation options to the program or to a configuration file. Your settings are used each time you start the software.
Any time the software is not operating, you can change the software options by starting the Installation Description from the DOS prompt.
The first two installation screens display product information.
To access the Installation Description, type this command at the DOS prompt:
barrsnar i
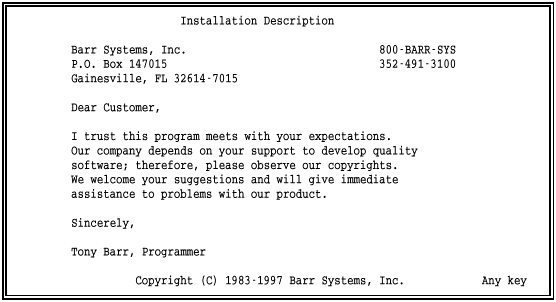
The first screen displays Barr Systems address, phone number, and software copyright information.

 If you cannot read the Any
key prompt in the bottom-right corner of the screen, exit
the software and type the mode
bw80 command at the DOS prompt before continuing. See Software
Installation Steps in section
6.3 for more information about this command.
Press any key to advance to the next screen.

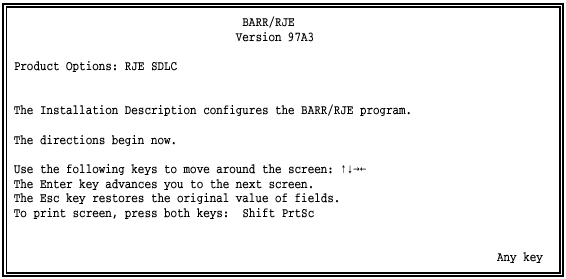
The product name (BARR/RJE), version number (97A3), and software options (RJE SDLC) display on the first three lines of this screen.
 If you contact Barr Technical Support, please provide this
information to the support analyst.
Press any key to advance to the next screen.
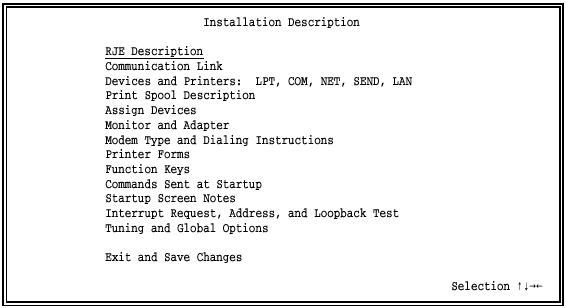
The third installation screen is the Installation Description menu, which gives you access to the other installation screens.

Menu Selections – The selections on your screen might differ, depending on which software you have.
The menu items RJE Description and Communication Link are discussed in the Barr Host Definition Guide.
The rest of the menu items are discussed in chapters 8, 9, 10, 11, 12, 13, 14, 15, 16, 17, 18, and 19 of this manual. The chapters appear in the same order as the menu options.
Modem Type and Dialing Instructions (for autodial modems) and Interrupt Request, Address, and Loopback Test (for the Barr communications adapter) display only if your software has the SDLC or X.25 host connection.
If you purchased software options, other selections might display on your screen. Separate manuals describe the other selections.
Minimum Configuration – You can customize the options to suit your data transfer and printing needs. The first five menu items are the most important and supply the minimum configuration required to operate the software.
RJE Description and Communication Link allow you to set up communication with the host computer and enable RJE printers, punches, and readers. After you enter these settings, you can test the connection with the host.
Devices and Printers: LPT, COM, NET, SEND, LAN allow you to set up PC printers and other devices.
Print Spool Description contains options required for print spooling.
Assign Devices controls the flow of data into and out of the program. It allows you to manage the devices defined by the previous four options and is the central feature for program operation.
The rest of the menu items allow you to set up other software features. The requirements at your site determine which of these selections you need to enable.
Use the last option on the screen, Exit and Save Changes, to periodically save your changes during the configuration process.